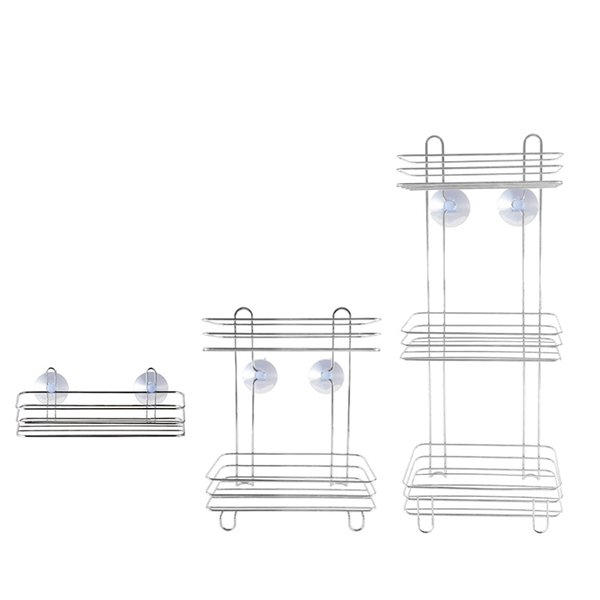
Shower Shelves are not just practical; they can also add a touch of style and organization to your bathroom. Whether you're a seasoned DIY enthusiast or a novice looking to enhance your shower space, this guide will walk you through the process of installing Shower shelves.
Materials You'll Need:
shower shelf Kit: Choose a shelf kit that complements your bathroom decor and suits your storage needs. It typically includes the shelf, brackets, and mounting hardware.
Level: Ensures your shelves are installed straight and level.
Measuring Tape: For precise measurements.
Pencil: To mark the spots where you'll install the shelves.
Drill: Used to create holes for screws or wall anchors.
Wall Anchors and Screws: The type of wall you have (drywall, tile, or cement) will determine the appropriate wall anchors and screws.

Installation Steps:
Plan the Location: Select the ideal location for your shelves, considering factors such as height, spacing between shelves, and accessibility.
Measure and Mark: Use your measuring tape to mark where the shelves will go. Ensure your markings are level and straight.
Drill Holes: Depending on your wall material, use the drill to create holes for wall anchors. For tiled walls, a tile bit is crucial to prevent damage.
Insert Wall Anchors: Insert wall anchors into the drilled holes securely.
Attach Brackets: Fasten the brackets to the wall with screws and wall anchors, checking for levelness.
Install Shelves: The shelves should come with pre-drilled holes or slots. Align these with the brackets and secure the shelves.
Final Inspection: Once installed, check that the shelves are level and stable. Make any necessary adjustments.
Decorate and Organize: Your newly installed shower shelves are ready for use. Decorate and organize with shower caddies, baskets, or your favorite Bathroom Accessories.
Installing shower shelves can be a rewarding DIY project, allowing you to create a more organized and aesthetically pleasing bathroom. Remember, the key to success is choosing the right location, measuring accurately, and ensuring everything is level. Enjoy your newly upgraded shower space!